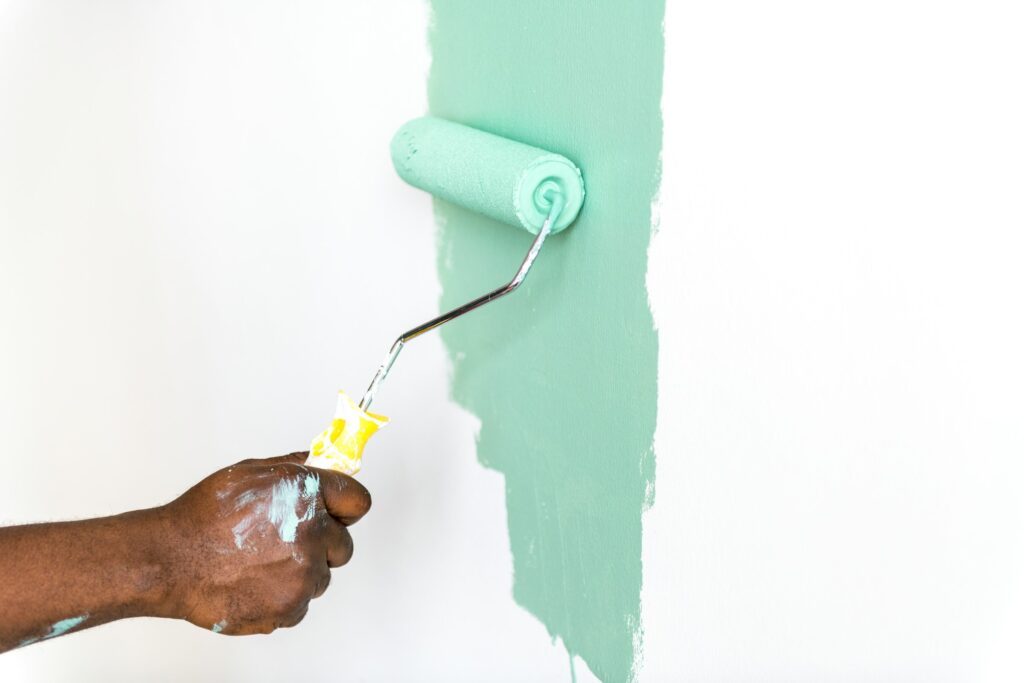
How to Clean Paint Rollers When Renovating Your Home
Cleaning your paint rollers after use may not be the most exciting part of a renovation project, but it’s still an important step. Properly cleaned rollers will not only extend the life of your tools but also ensure a smoother, more professional finish the next time you paint.
In this guide, we’ll take you through the steps for cleaning paint rollers and share tips for storing them properly, so you can keep them in top condition for your next home improvement project.
What you’ll need to clean your paint rollers
Cleaning your paint rollers won’t require a lot of equipment, but having the right tools and materials will make the process easier and more efficient. You’ll typically need:
- Warm water or solvent: For water-based paints (like emulsions), warm water will do the trick for cleaning. For oil-based paints, you’ll need a solvent such as white spirit or turpentine to break down the paint. You should always check the paint type before choosing your cleaning solution.
- Bucket or basin: You’ll need a large enough container to rinse the roller in. It can be a good idea to use a bucket with a spout or one that’s easy to pour from so you can avoid a messy clean-up.
- Rubber gloves: Rubber gloves will help keep your hands safe and clean, protecting you from paint, solvents and any residue left on the roller.
- Old towels or rags: These can be handy for drying the roller once it’s clean, as well as for wiping off any excess paint or solvent.
- Paint roller spinner or roller cleaner tool (optional): These tools can help you remove excess paint from the roller quickly. A paint roller spinner, for example, will speed up the process by allowing you to spin the roller to remove paint as you rinse it.
- Stiff brush or scraper (optional): If paint has dried on the roller, a stiff-bristled brush or scraper can help remove the excess so you can then clean it thoroughly.
Step-by-step guide to cleaning paint rollers
Cleaning your paint rollers properly after using them is key to maintaining their quality and ensuring they’re ready for your next project. Regular cleaning will not only prolong the life of the roller but also ensures you get the best results when applying paint next time.
Cleaning water-based paint from a roller
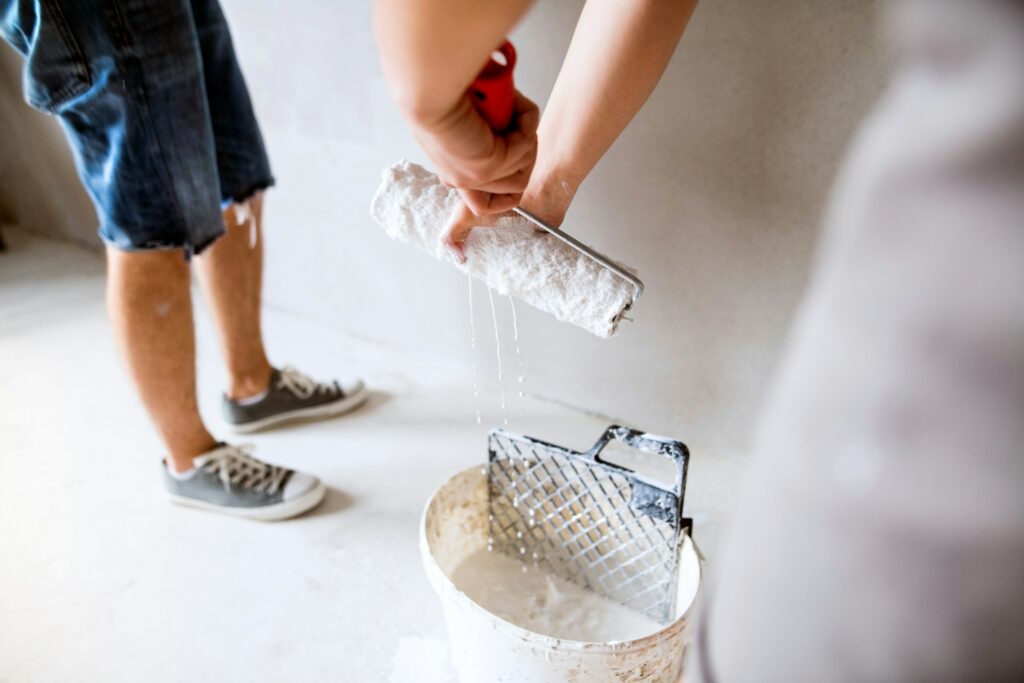
- Rinse the roller with warm water
Start by running the roller under warm water. Gently squeeze and roll the roller to help the water penetrate the fibres and loosen the paint. This is often enough to remove most of the paint if it’s still fresh.
2. Scrub the roller (if necessary)
If there is a lot of paint still left on the roller, fill a bucket or basin with warm water and add a small amount of mild detergent or dish soap. Submerge the roller and use your hands or a stiff brush to scrub away any remaining paint. You can roll the roller back and forth to dislodge the paint from all areas.
3. Rinse thoroughly
Once the paint has been removed, rinse the roller under clean water until it runs clear. Make sure all soap or detergent residue is washed out.
4. Dry the roller
After rinsing, squeeze the roller gently to remove excess water, then roll it on an old towel or rag to remove any remaining moisture. Leave the roller to air dry completely before storing it.
Cleaning oil-based paint from a roller
- Use a solvent
To remove oil-based paints from your roller, you’ll need a solvent such as white spirit or turpentine. Pour the solvent into a bucket or container, then dip the roller into it. Roll the roller back and forth to loosen the paint, pressing it gently to remove excess paint from the fibres.
2. Scrub the roller
If paint is still stuck, you can use a stiff brush to scrub the roller, taking extra care around the edges where paint tends to build up. You may need to change the solvent if it becomes too thick with paint.
3. Wash with warm water and soap
To remove any remaining solvent, wash the roller with soapy water. Use a mild detergent and scrub gently to ensure all solvent is gone. You can then rinse the roller under warm water to remove the soap.
4. Dry the roller
Gently squeeze the roller to remove excess liquid and then roll it on a towel to absorb any remaining water. Let the roller air dry completely before you store it.
Tips for storing cleaned paint rollers
Storing your cleaned paint rollers properly is essential for keeping them in good condition for future use. Here are some helpful tips to ensure your rollers stay in great shape and ready for your next project:
Let them dry completely
You should always allow your rollers to dry thoroughly before storing them. Any residual moisture can cause mould or mildew to develop, especially in areas with high humidity levels. You should lay your cleaned rollers out flat on a clean, dry surface or hang them to air dry completely.
Store in a dry, cool place
You should store your clean rollers in a cool, dry location away from direct sunlight or sources of heat. Excessive heat or humidity can cause the roller fibres to warp or deteriorate, and reduce how well they work. A dry cupboard, utility room or garage can be perfect.
Use a roller cover or bag
A protective cover or a plastic bag will protect the roller from dust and dirt. This will ensure your rollers are kept clean and can also help to prevent damage from accidental knocks or exposure to dirt and debris.
Avoid storing rollers on their end
When storing your paint rollers, it’s best to avoid placing them on their end, as this can cause the roller itself to become compressed and misshapen. Instead, you should lay them flat or hang them on a hook or rod, so they maintain their shape.
Keep them separate from other tools
You should try to avoid storing your paint rollers with other painting tools that may damage or flatten them. Keeping them in their own space will ensure they remain in good condition and will be easy to access when you need them.
JB Kind has a huge range of internal doors in a variety of styles, perfect for your renovation project. Download our brochure or contact us to find out more.